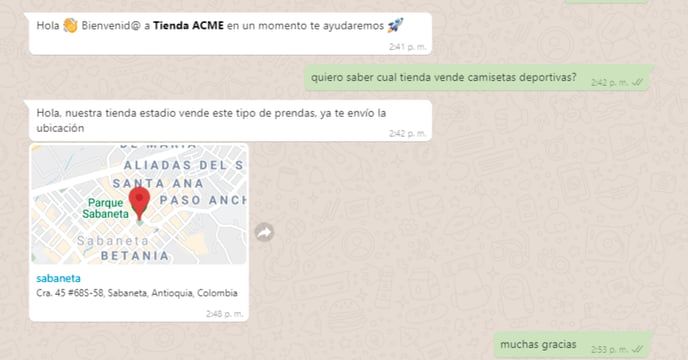
Sending out information about the exact place where your company or your client is located is now possible thanks to B2Chat. Learn how to send and receive locations through WhatsApp in this article.
B2Chat knows how important it is for your company to know every detail about your customers and to be able to attend to their different needs in an agile way, that is why we offer the possibility of sending and receiving locations 📍 through WhatsApp.
With this tool, your customers can make order requests in a more precise manner and you can send the locations 🗺️ for your physical stores in just seconds.
If you wish to learn how to receive and/or send locations from your WhatsApp, all you have to do is follow these simple 👇 steps:
How to receive locations through WhatsApp
⚠️Note: Before you begin, you should know that "real-time locations" are NOT ❌ accepted by the B2Chat console, you can only receive: "current locations" or "Nearby places".
Step 1: Log into B2Chat with your username and password🔐.
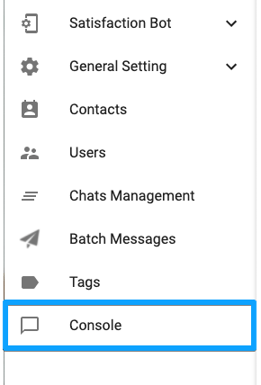
Step 2: Click on the Console module, located at the bottom left of your screen.
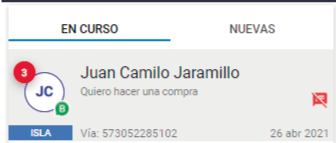
Step 3: Enter the conversation where you expect to receive a location.
Step 4: If your chat has received a location 📍 sent by your converser, it will show up on your screen like this:
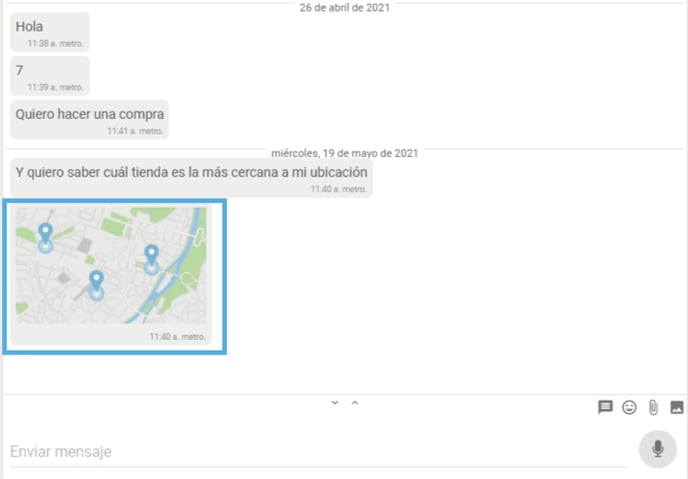
⚠️Note: Depending on your subscription, you may be able to preview 🤓 the address and coordinates of a location, but don't worry! If you cannot view it from the console, the data will appear when you click on the image and you will see it in a new tab in your browser on Google Maps.
Step 5: To finish, click on the map and go to the new screen that appears on your navigator.
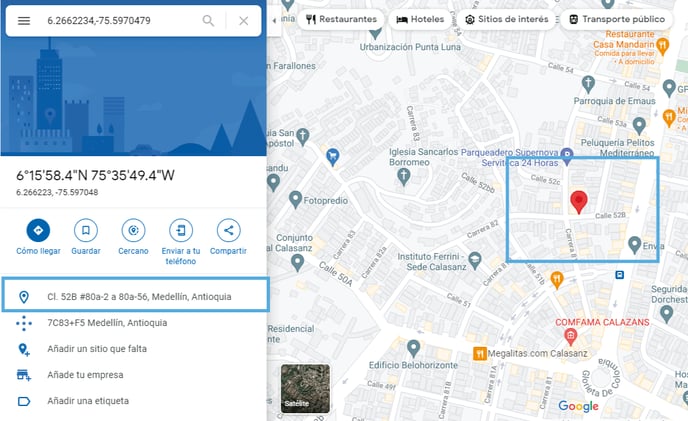
There, you will find a 🗺️ Google map with all the location's information, such as coordinates, address, and the exact point within the map where your converser is located.
How to send locations through WhatsApp
⚠️Note: Before sending a location you must preset it ⚙️ as a quick message and this configurator is exclusively for admin users. However, when the administrator has uploaded the locations, each agent will be able to submit them from their console 👍.
Below, we will explain how to preset the console locations and how to send them.
Step 1: Log into B2Chat with your username and password🔐.
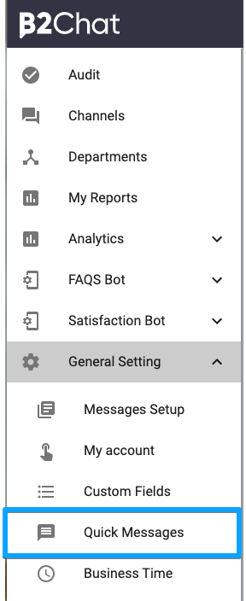
Step 2: Click on the General setting module and look for the option: "Quick messages", located at the bottom left of your screen.
Step 3: Select the green button "Create" located in the upper right part of the module.

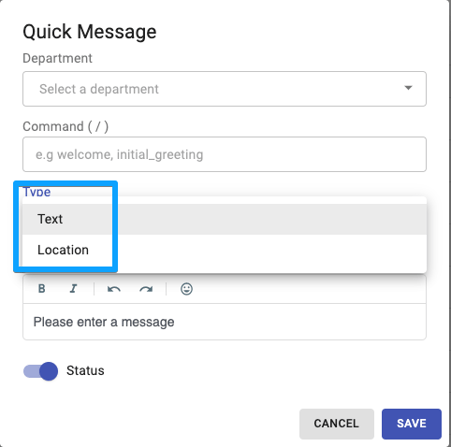
Step 4: Once inside the quick messages setup page 🔧, select the "Department" for which you want to enable the location you are going to create and the "Command" that will activate the location.
Continue filling out the setup fields ⚙️ like this:
In the field named: "Type" choose the option "Location" and add the address you want, either manually with the map pointer or by typing it in the field 🔎: "Find address".
Finally, type your location's name in the field "Name" and click on the blue button 🔵 "Save".
Once you've created the location, the chosen department's agents will be able to send it by following these 👇 steps:
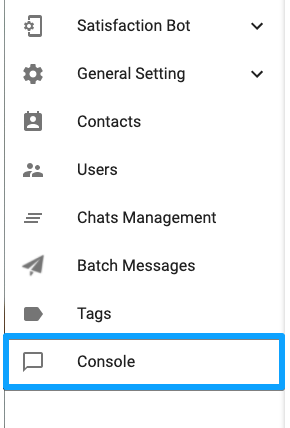
Step 5: Click on the Console module, located at the bottom left of your screen.
Step 6: Enter the conversation where you want to send the location.

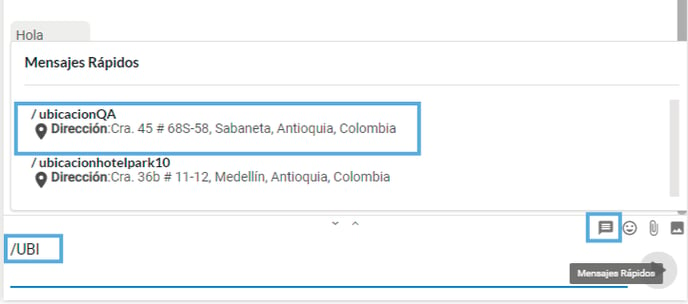
Step 7: Look at the bottom right of your keyboard for the quick messages icon:
 select the message containing the location and send it.
You can also type the location command on your keyboard and send it directly in the conversation.
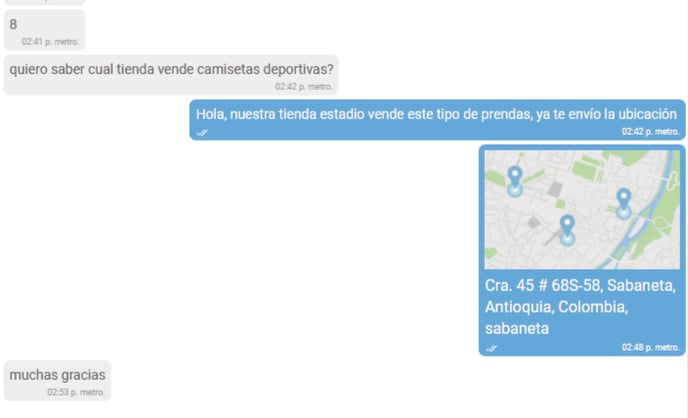
Once you have sent the location, your converser will see it 👁️🗨️ in their conversation and you can click on it to open it with an application of your choice.
