Chatbot 🤖 solutions are tools designed to replicate answers that your agents provide for your clients. The program is in charge of offering your clients a list 🗨️ of frequently asked questions and answers (as a menu) where they will select ✅ the question they want to be solved at that moment.
If you wish to learn how to setup ⚙️ the Solutions Chatbot or you would like to add more questions to it, in this article, we will teach you how to do it, by following these steps 👇:
How to set up your Solutions Chatbot
⚠️Note: Bear in mind that, to carry out the following process you must have an administrator user.
Step 1: Log into B2Chat with your username and password🔐.
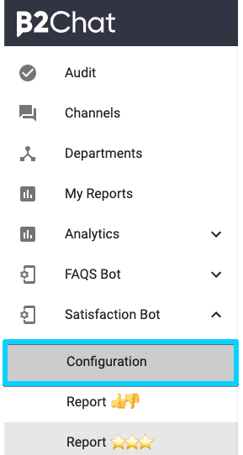
Step 2: Click on Solutions Bot, located at the bottom left of your screen, and select the option: "Configuration".
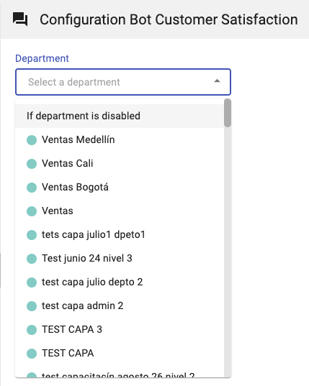
Step 3: Go to the items menu 🔎, and select the department for which you want to create or set up a solutions Chatbot.
Step 4: Once you've selected a department, you will see a setup page🔧 like the one below 👇:
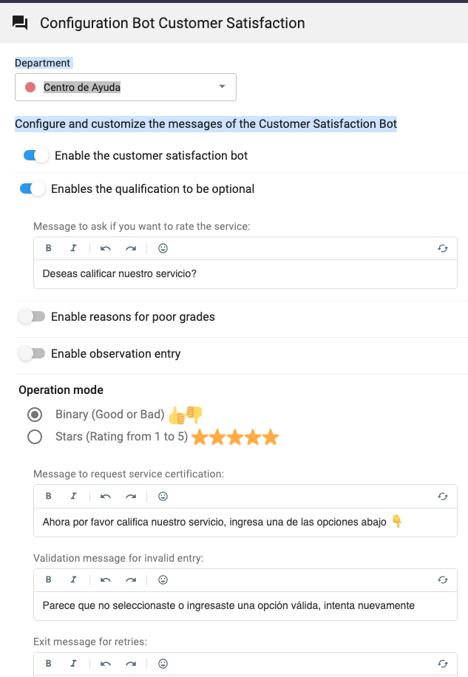
In it you can modify ⚙️:
- The Presentation message and selection of options 👨🏫: In this field, you type in the instructions for your client, remember to be very precise so that your users can self-manage their doubts without issues.
- The message after the bot's response 👍: Here you type in a farewell text for your client so that when they finish solving their doubts, the last message they see will be this.
- The Validation Message ❌: In this field, type in the text you will use to correct possible errors from your clients when selecting the questions. Remember that the Chatbot is programmed to read numbers 🔢 and preset letters, sometimes customers make mistakes and enter invalid options.
- The Message failed due to attempts ✋: In this field, you must type in a warning text ⚠️ for your client. When your client sees this message, it will be because they have exceeded the limit of failed attempts and therefore are no longer able to self-manage the question meaning, a human agent 👨💻 is required to solve the issue.
⚠️ Note: In all the above texts you can use: emoticons 😀, bold and italics 🎨 to personalize the message.
Step 5: Once you're done typing in all of your texts, you must set up and enable ⭕ buttons for your Chatbot.
You can rename:
- The "Return" button allows your client to return to the chatbot's previous step.
- The "Advisor" button is used to allow your client to speak to a human agent 🤓 directly.
Step 6: Finally, you must choose the number of unsuccessful attempts 😅 your client can make in the Chatbot before being redirected to a human agent, as well as messaging accounts, such as WhatsApp lines, live chats, or Facebook accounts in which you will enable the Chatbot ☎️ . Once you're done click on the green button "Save".
How to set up your chatbot's questions and answers
⚠️Note: Keep in mind that, to carry out the following process you must have an administrator user.
Step 1: Log into B2Chat with your username and password🔐.
Step 2: Click on the Solutions bot located at the bottom left of your screen and select the option: "Questions and answers".

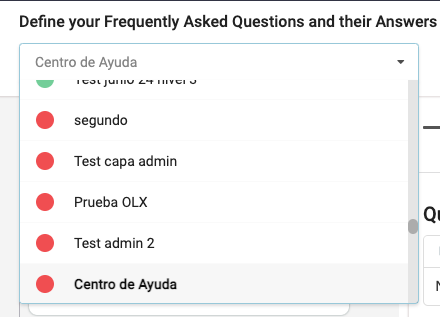
Step 3: Go to the items menu 🔎, select the department to which you want to add the questions and answers in the solutions Chatbot.
Step 4: Once you've selected the department, you will see a setup page like the one below 👇:
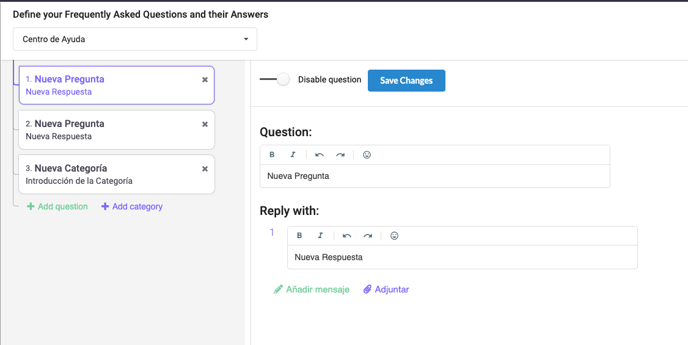
In it you can: Type in your chatbot's default question in the field "Question" and write the default answer to your question in the field "Answer".
⚠️ Note: In both fields you can use: emoticons, bold, italics, and attachments 📎 to customize or detail your texts.
Step 5: Once you finish creating each question you can go to the top left of your setup page and select the option: "add another question" or "Add another category" to add more layers to your Chatbot. If that's the case, you just have to repeat step 4 of this article.
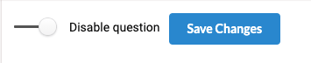
Step 6: To finish you just have to click on the blue button "Save changes" located at the top of your setup page.