When you integrate your B2Chat account with a CRM (Customer Relationship Management) tool like Zendesk you can create new contacts, create tickets 🎫 instantly during a conversation with a contact👤 , and attach a conversation to a ticket feed 🎫.
Activating your Zendesk integration
To set up Zendesk on your B2Chat account, follow these steps:
- Log in to your Zendesk account and click on the Admin (administrator) icon in the menu on the left.
- Click on Channels and select the API option.
- Approve the API terms and conditions of use and click on the Get Started button.
- Enable the Token Access and click the [+] button to generate an API Token that will be used to connect to your B2Chat account.
- Enter a name you wish to use to identify your token and be sure to copy the token in order to send it. Finally, click on the Save button 💾.
- Once your token is all set, send it to our email address support@b2chat.io or fill in the support form here, with the following information:
- Email 📬 : It is the email associated with the Zendesk account with which you generated your token.
- URL of your Zendesk portal: Ex: geckowall.zendesk.com.
- Token: The token that you generated following the previous steps ⬆️.


Creating tickets with Zendesk
Once you've integrated your B2Chat account with Zendesk, you can begin creating tickets from our console. Tickets 🎫 are a great tool for agents 👥 who cannot resolve an incident or answer a request during a conversation and need to assign the case to another agent or department and follow up on it. When creating a ticket, messages sent 📩 within a chat 💬 will automatically be attached to it. This allows agents 👥 to receive detailed feedback on the interaction that took place and a clear idea of the case to be solved.
To create a ticket, follow these steps:
- To create a ticket, the agent must have the conversation they want to send to Zendesk active. At the top of your screen, you will see an icon that says Create ticket.
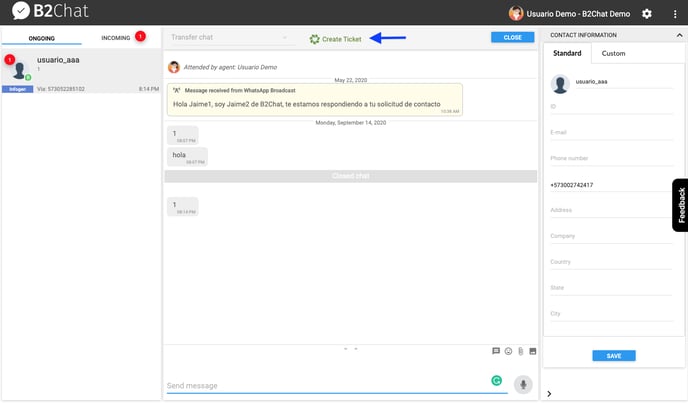
- Click on the icon and the ticket will automatically be created in Zendesk.
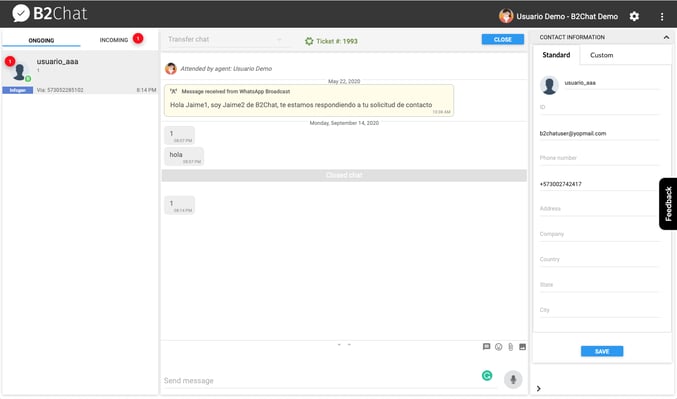
- Our system will provide you with a number for the ticket you created in Zendesk.
- Keep in mind that if the contact 👤 does not exist in ZenDesk, a new contact will be created associated with the contact who started the conversation in B2Chat. If the contact already exists in ZenDesk (their email exists in Zendesk), only one ticket will be created 🎫 associated with this contact.
- The ticket will appear in your Zendesk inbox 📥 with the subject (Ticket from B2Chat) and without it being assigned to an agent 👥.
- Once you've selected the ticket, you can assign it to an agent and view conversation details.
- The agent will be able to continue with ticket management in Zendesk without any issues.


❗It is important that an email 📬 is provided in the contact information👤 as this is the user's ID in Zendesk. If there is no email available, the system will not allow you to create the ticket🎫