If your company already has a database at the time of entering B2Chat, you can import it into the platform and thus recover and use that information together with B2Chat's features, here we tell you how to do it.
Learning to import your contacts into the B2Chat platform is very easy, all you need to do is organize your contacts according to the format and that's it. If you want to do it, follow these 👇 simple steps:
How to import contacts in B2Chat
⚠️Note: Keep in mind that, to carry out the following process you must have an administrator user.
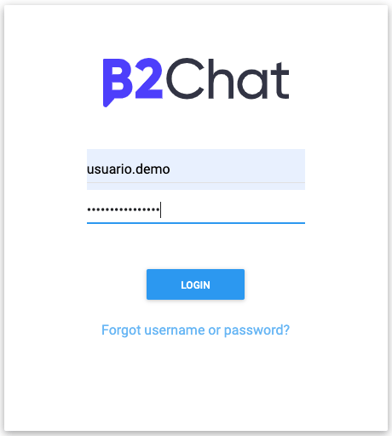
Step 1: Log into B2Chat with your username and password🔐.
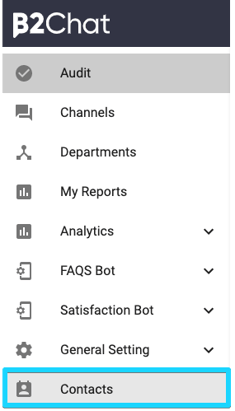
Step 2: Click on the Contacts Module, located at the bottom left of your Screen.
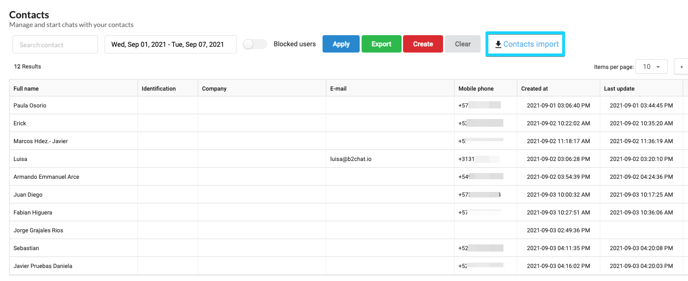
Step 3: Once inside the module, click on the button called: "contacts import" located at the top right.
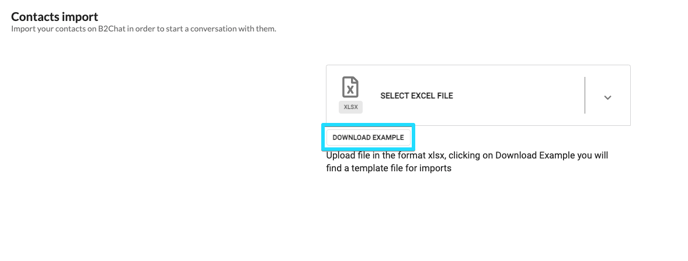
Step 4: Click on the button called: "Download example" and open the Excel document that B2chat has prepared for you.
Step 5: The Excel document is divided by a series of columns that you must fill in with the information of the contacts you want to import, it is very important that you follow these instructions to be able to complete your documents without errors since the platform will evaluate each contact 🔎 in the next step.
Instructions for completing each column in the document:
- Field: "Identification": In it, you must enter only the number corresponding to the contact's identity document.
- "Name" field: In this space, you must type only the letters that make up the contact's name. This field is required.
- "Mobile" field: In this field, you can only type in the cell phone number, preceded by (+) the country code, and finally the contact's mobile number. Ex: +573146566767. This field is required.
- "Phone" field: In this space, you must only type the phone number of your contact.
- "Email" field: in this space, you must write the email of your contact, including his @.
- "Address" field: In this field, you must write the address of your contact.
- "Country" field: In this field, you must type in the ISO code of the country where your contact resides.
- "Company" field: In this space, you must write the name of the company to which your contact belongs.

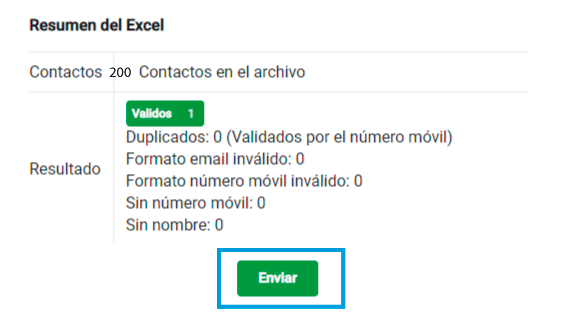
Step 6: Once you've completed the example document, you must upload it to the platform attaching it to the button: "Choose file" when you have done this, the platform will evaluate each contact, and if it does not find any errors ✅ you just have to click on the button: "Submit" to finish your import.
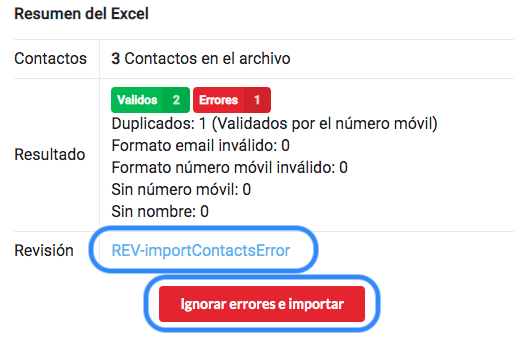
If, on the other hand, the platform identifies an error in the file, it will show it to you in a red box called: "Errors" ❌ in which it will specify how many errors have been found. In these cases you have two possibilities;
* The first is to click on the link: "Rev-ImportContacsError" and thus download a new file that explains contact by contact what the errors were, correct it 👨💻 and upload them again.
* The second option is to click on the red 🔴 button: "Ignore and import" and thus skip the errors and end the process only with the contacts that have been approved.
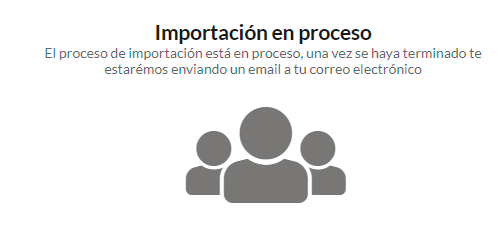
Step 7: When you have finished uploading your file, our B2Chat platform will upload the contacts to its database and will show you a window with the headline: "Import in process" depending on the amount of information, the process may take a few minutes.
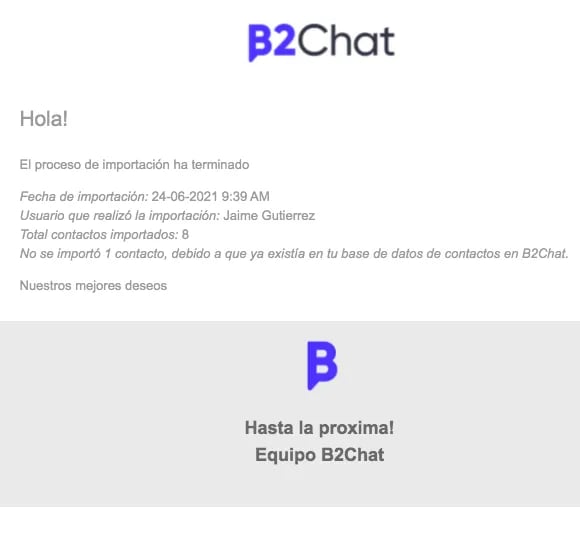
Once the process is finished, you will receive an email from B2Chat informing you that the process has been completed successfully and you are informed: the number of imported contacts as well as the number of contacts that were not imported because they were duplicates 👤 👤 in the database that you wanted to import and in which you were already using in the console.
