Understanding each feature available in our user's module is essential to take full advantage of your B2Chat subscription.
Find out what each tool is for by following these steps:
Managing the user's module
Step 1: Enter B2Chat with your username and password🔐.
Step 2: Click on the user's module  located in the menu on the left-hand side of the screen.
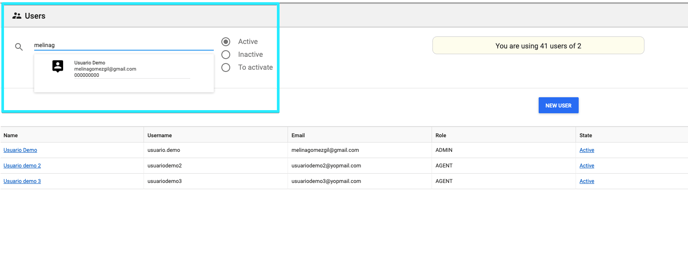
Step 3: You will see the entire user's module on your screen and the search box in the upper left, where you can search for users or filter the list.

If you wish to search for a user 🔎 you just have to type in the name, user, or email and select the filter you want to apply, you can choose between "Active", "Inactive" or "To activate".
Once you finish typing in their data, you will see that the user appears just below the search box and if you click on it, you will be able to view their data in the list.
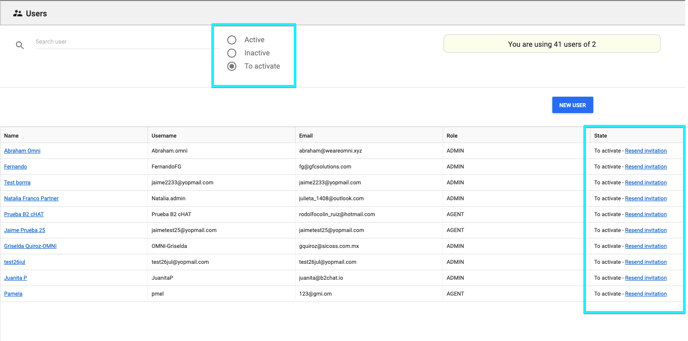
 You can also search by filtering the list according to your users' statuses, this way allows you to view all users that coincide with the same status, for example: "All Active", "All Inactive" or "All Users To Activate ".
To do this, you just have to click on the filter you want and review the list and it will show you all the users that match ✔️ your search criteria.
 Step 4: From the user's module, you can also view 👀 the number of available slots in your B2Chat account.
To do so, you just have to look for 🔎 in the upper right-hand side of the user's module, there you will find a shaded box that shows you how many of the users included in your plan are currently in use.
(image)
⚠️Note: The number of available users depends on your plan in B2Chat, however, you can add users 🙋 whenever you need to or even improve your plan from the console.
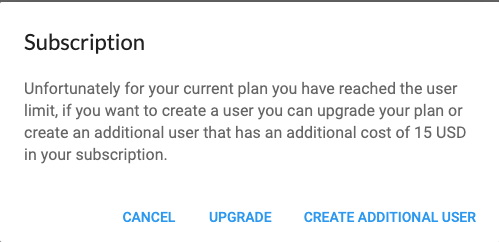
To do so, select the blue button 🔵 called: "Add user" and if your quota of users has been filled, you will see an alert message like the one below:
Click on the button called: "Create additional user" if you want to add a user for an extra value, or "Upgrade" if you want to expand your users by upgrading 💪 to the following B2Chat plan.
Step 5: Finally, at the bottom of the user's module you will see your list, this list shows all users divided into different rows👨💻 and their data divided into columns.
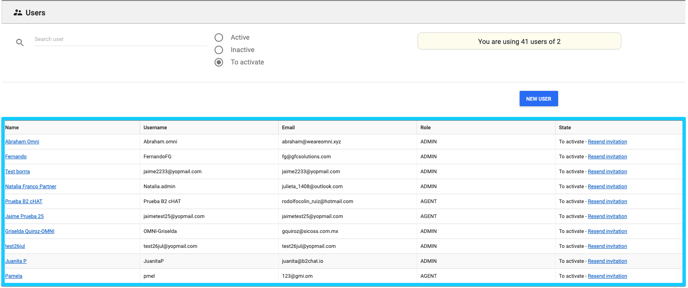
In each user row you can view: the name, the user, email, role (Administrator or agent) and the user status (active, inactive or to be activated).This data can be modified by editing the user's profile.
⚠️ Note: If you wish to learn to edit your users' profiles ⚙️ you can visit the article: "How to edit users".