When creating your customer database, it is important to define what type of information your company needs. B2Chat understands that each brand is different and therefore, has put an editing system in place that allows administrators to customize customer files so that they can add or modify the fields they deem necessary.
Follow the instructions 👨🏫 below and discover how to add new fields to your clients' files:
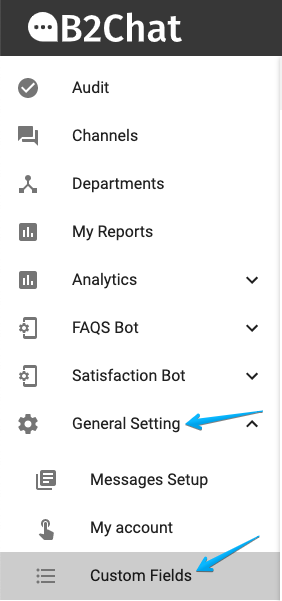
Step 1: Log in with your administrator user and select the option: "General setting" found in the menu on the left side of the screen and click the button: "Custom fields".
Step 2: Select the blue button: "CREATE NEW FIELD" located at the top right of your screen. 👇

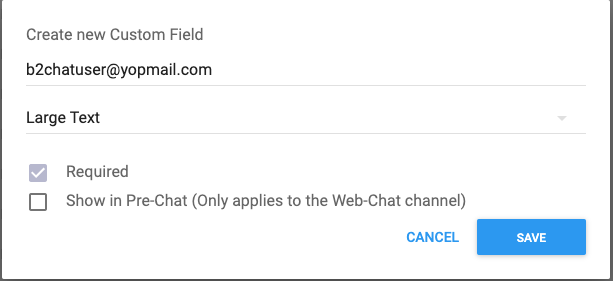
Step 3: Type in ✍️ the name of your field above the text “Field name”.
In the option "type" choose the type of field you need, you can choose between: Large text, list, numeric or short text.
Finally, select the option: "Required" if you want it to be a requisite for each agent to enter the information in the new field, otherwise do not select anything.
This option serves as a useful way to remind agents that they must ask clients for the required data, since chats with clients cannot be closed until the information in the field is complete.
ℹ️ The option "Show in pre-chat" only applies to businesses that have webchat active, if your business does not have it, you can omit this field 😎
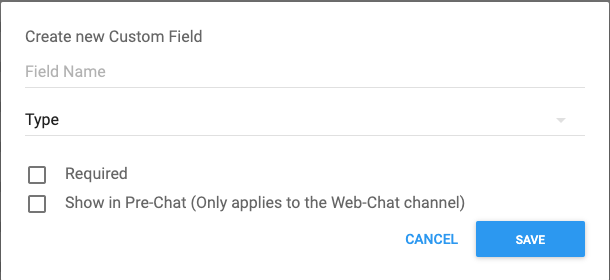
Step 4: Click on the blue button: "Save" and wait for the confirmation message.
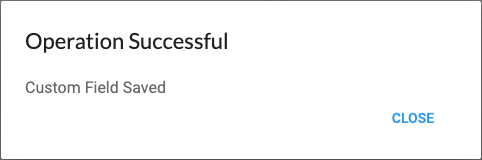
When you see this 👆 message, your field will have been created successfully.
How to edit a field
If you wish to edit an existing field or the field you've just created, you just have to:
Step 1: Select the name of the field and begin modifying the information you need.
Step 2: Click the "Save" button once you've finished your edit. 👌
Final advice
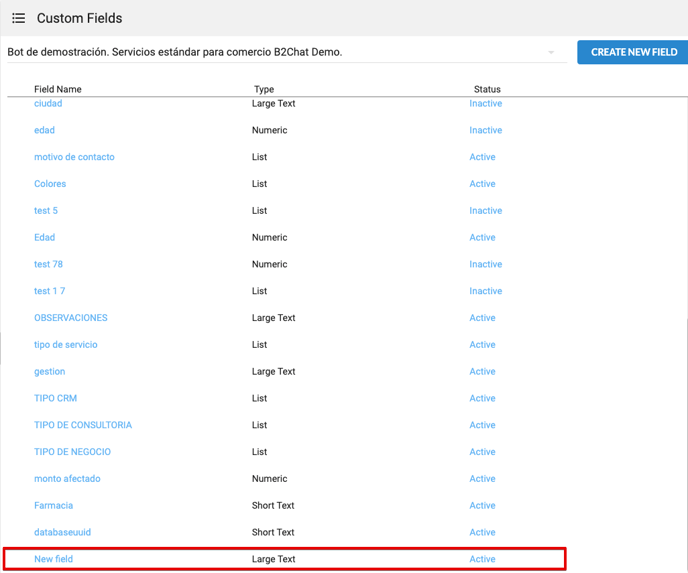
All your fields can be viewed on the main page of the "Custom fields" option and from this same window, you can enter:
- Your fields' names.
- Type of field.
- Your fields' statuses (whether they are active or inactive)
and of course, you can create new fields as we've taught you.